Adding a content delivery network and github actions to our static site
In this blog post let us further improve our static site hosted on S3 bucket in AWS by using a content delivery network. We will also implement a continuous deployment feature for our site using github actions.
Content Delivery Network⌗
A CDN, or Content Delivery Network, is a network of servers distributed across different geographic locations that work together to provide fast and reliable delivery of internet content, such as images, videos, and web pages, to end-users.
When a user requests a piece of content, the CDN automatically determines the best server to deliver the content from based on factors like geographic proximity, server load, and network availability. The content is then delivered to the user from the server that can provide the fastest and most reliable connection, which helps to reduce latency and improve overall website performance.
Amazon CloudFront is a cdn offered by AWS and Cloudflare is also a popular cdn used by many sites.
What we will be using:⌗
- Route53: Domain Name Service of AWS
- CloudFront: Content Delivery Network of AWS
- Github Actions: Automation services provided by Github
- Certificate Manager: Generating certificates offered by AWS
Certificate Manager⌗
Let us first create a SSL certificate for our domain so that we can use https when accessing our static files. Since it’s fairly simple, we won’t go through steps by steps. We just to click on request, enter the domain name that we will generate the certificate for, select a validation type, and since we use route53 we can click on create records in route53 for validating that we own the domain.
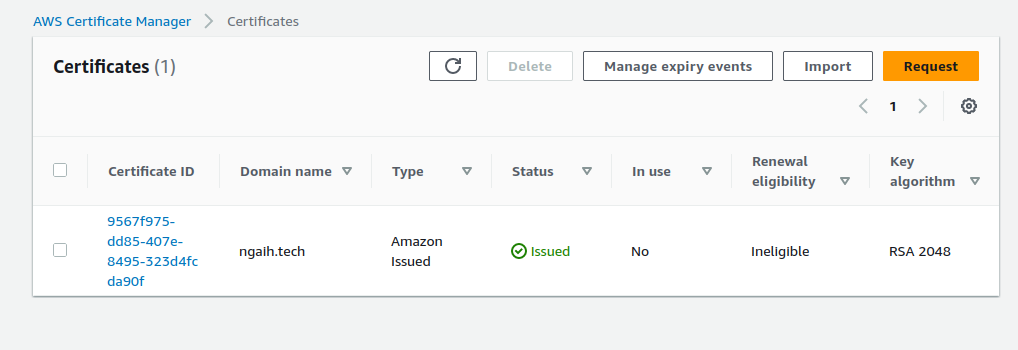
After validation, we will get certificate like the one above.
CloudFront⌗
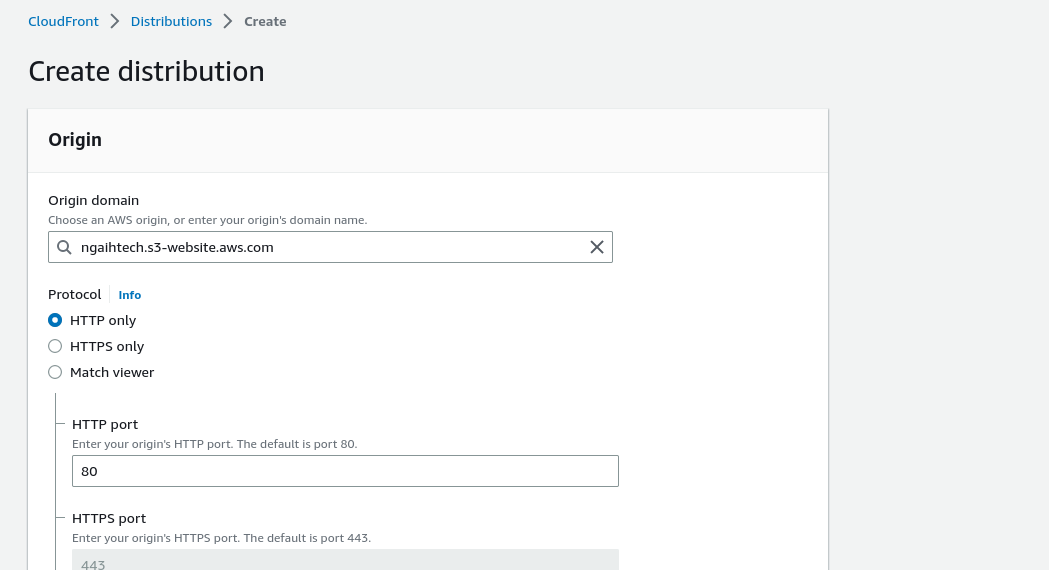
Go to cloudfront services in AWS. Click on create distribution.

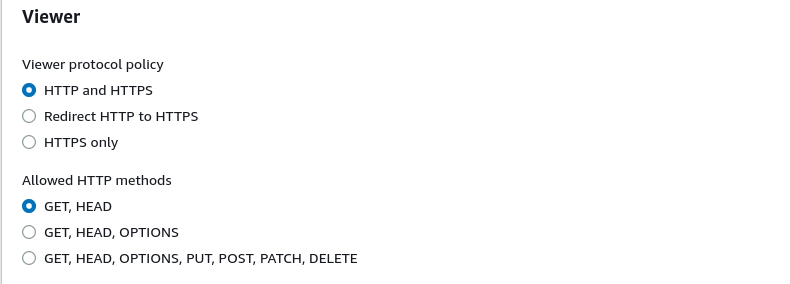
In the origin domain, enter the s3 static site domain. We get this information from the previous s3 bucket where we created our site. We can leave most of the default settings, but since I want to use https, I will check the redirect http to https in the viewer protocol policy.
In alternate domain name, we will enter our domain and select the certificate we have created before.
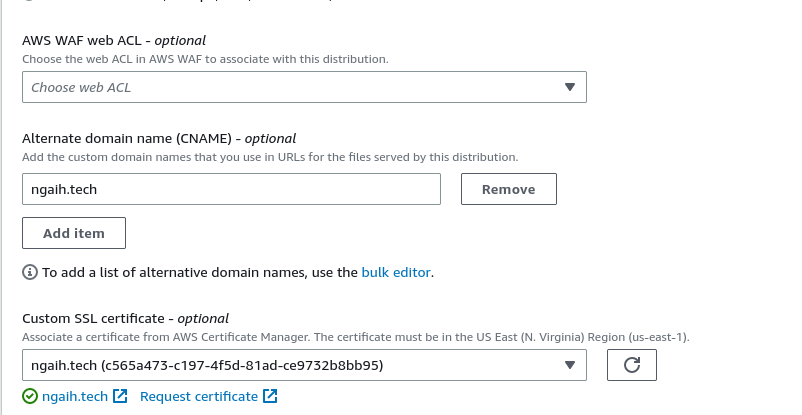
Then create distribution.
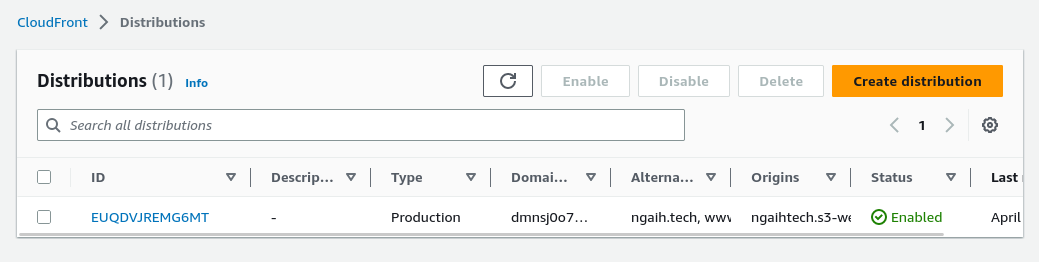
Let us make note of the ID, this will be required later when we set up github actions.
Click the ID of the distribution and in details we can see the distribution domain name, also make note of this so that we can point our domain name to the cloud front distribution.
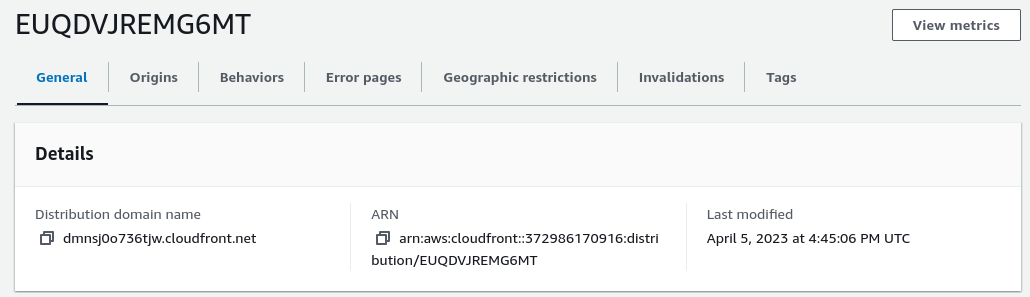
After the distribution has been deployed, we can enter the distribution domain name and it will fetch our static site from the s3 bucket and cache them in the edge locations. We have now deployed our static site using a cdn and have improve the latency as well as reach of our site.
Next step, is to point our domain name to the cloud front distribution domain.
Route 53⌗
We have hosted our domain name in a hosted zone in route53, due to its seamless integration with other aws services and to make use of alias feature.
Using alias for pointing to a cloudfront endpoint is native to AWS so it won’t work if you are using other DNS service providers like godaddy, namecheap etc.
Go to the hosted zone, click on our domain and create record.
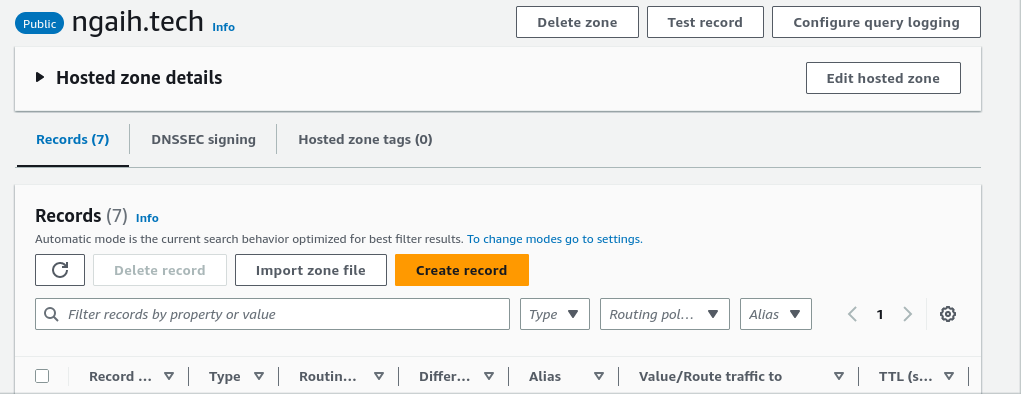
Now create an A record, turn on alias and route traffic to cloudfront distribution and also enter the cloudfront domain.
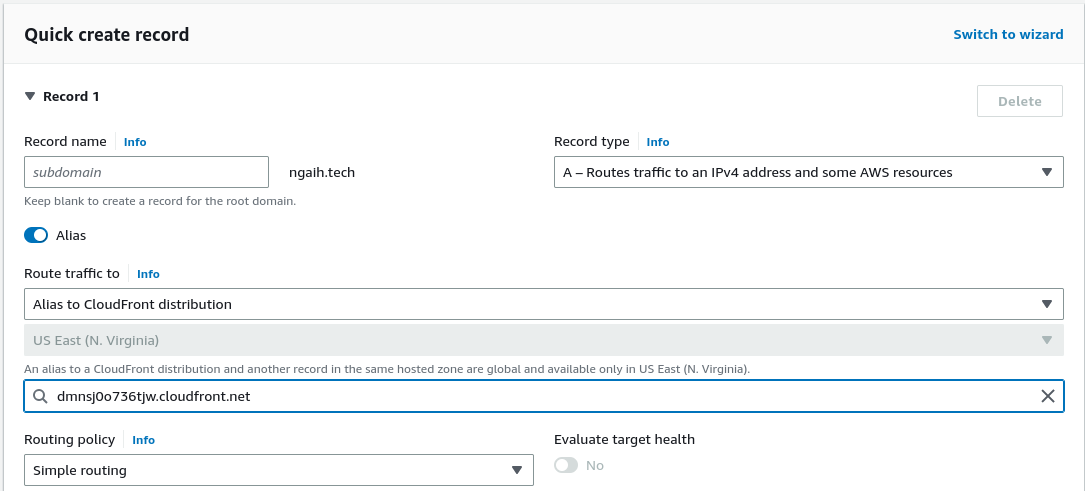
Create records
Allow for the changes to propagate, after a few minutes, we can enter our url https://ngaih.tech and we will directed to our domain that is hosted in a cdn of cloudfront.
To update our site we have to upload new files to the s3 bucket and then since the old versions are probably cached in the cloud front distributions, we have to invalidate the cache so that the site will be refreshed when people visit the domain. Since our site is created using hugo and the code and static files are hosted on github, we can automate the process of deployment using github actions.
Continuous Deployment⌗
Since this part of the content is mostly unique to hugo and this blog, we will speed run through the steps since the reader is assumed to be more of expert level.
Create a policy in aws and give it access to s3 objects and ability to invalidate cache.
{
    "Version": "2012-10-17",
    "Statement": [
        {
            "Sid": "ListObjectsInBucket",
            "Effect": "Allow",
            "Action": "s3:ListBucket",
            "Resource": "arn:aws:s3:::ngaih"
        },
        {
            "Sid": "AllObjectActions",
            "Effect": "Allow",
            "Action": "s3:*Object",
            "Resource": "arn:aws:s3:::ngaih/*"
        },
        {
            "Sid": "InvalidateCache",
            "Effect": "Allow",
            "Action": "cloudfront:CreateInvalidation",
            "Resource": "*"
        }
    ]
}
Tie this policy to a user and generate access keys for programmatic accesss. We will use this user for github actions so that it can connect to our s3 bucket to perform uploads of files and invalidate cache.
Enter the secret like AWS ACCESS KEY ID and AWS ACCESS KEY in the github actions secrets.
Now create a github workflow
name: Build and Deploy Hugo site to S3 and Cloudfront

on:
  push:
    branches:
      - master

jobs:
  build-and-deploy:
    name: Build and Deploy
    runs-on: ubuntu-22.04
    env:
      BUCKET: ngaih #bucket name
      REGION: ap-south-1
      DIST_ID: <distribution ID> #replace

    concurrency:
      group: ${{ github.workflow }}-${{ github.ref }}
    steps:
      - uses: actions/checkout@v3
        with:
          submodules: true  # Fetch Hugo themes (true OR recursive)
          fetch-depth: 0    # Fetch all history for .GitInfo and .Lastmod

      - name: Setup Hugo
        uses: peaceiris/actions-hugo@v2
        with:
          hugo-version: 'latest'
          # extended: true

      - name: Build
        run: hugo

      - name: Configure AWS Credentials
        uses: aws-actions/configure-aws-credentials@v2
        with:
          aws-access-key-id: ${{ secrets.AWS_ACCESS_KEY_ID }}
          aws-secret-access-key: ${{ secrets.AWS_SECRET_ACCESS_KEY }}
          aws-region: ${{ env.REGION }}

      - name: Copy files to production S3
        run: |
                    aws s3 sync public/ s3://${{ env.BUCKET }} --delete

      - name: Invalidate cache
        run: |
          aws cloudfront create-invalidation \
          --distribution-id ${{ env.DIST_ID }} \
          --paths "/*"
We have basically a Continuous Deployment for our website and we will get automatic content update whenever we push our site to github.